 |
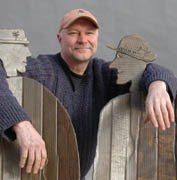
Lester holding arm after we cut it off. We tied and taped off the arms to keep from deforming the surface.
This was a very stressful operation but worked out perfectly. |
 |
| Figure without arms. This makes mold making easier and allows for better results, |
 |
Figure laid out to facilitate spray on mold. We supported figure in the middle to keep from deforming it.
We added shims to part the figure in half but I forgot to get pictures of that step. |
 |
| After spraying, the tool in the foreground is used with cartridges for applying mold material. |
 |
| Mold material applied, note the flange surrounding the figure creating a parting line for two halves of the mold. |
Tomorrow we will be spraying on the plastic mother mold which will give form to the flexible rubber.
This was a stress filled day of very hard work. Everything worked as planned and tonight the rubber is curing so we can proceed to the next step.


No comments:
Post a Comment